Munching on a Winter Wonderland

Oh gosh. I hate to start out by being negative, and I really, truly love the book ‘Eat Me!’….but. And it’s a big ‘but’. (Like the kind you’ll get if you eat too many of my cakes.) But, the recipes often just don’t work, or are missing vital instructions. It’s a shame, and a good example of when style wins out over substance. Sadly, in cooking, substance is what you need. My pledge to you, beautiful readers, is to give you the most accurate recipes I can, so I’ve tweaked this one. In the next few weeks, I’m going to be making the transition from testing out the recipes of others, to making up my own, so please stay with me!

Shortbread base ingredients
3oz caster sugar
80z plain flour
40z unsalted butter, fridge-cold and cut into pieces

1. Fire up the ol’ oven to 170C, and then set to greasing up a baking tin measuring 20 x 30cm. If you really can’t handle that, then 8 x 12in. Greasing up. Greeeeeeasing up. Yuck. You’ll most likely want to do this, and/or line it with parchment paper, unless you’ve got the best ever baking tin in the world, that never sticks (private message me if you do. I’ll be having that please.)

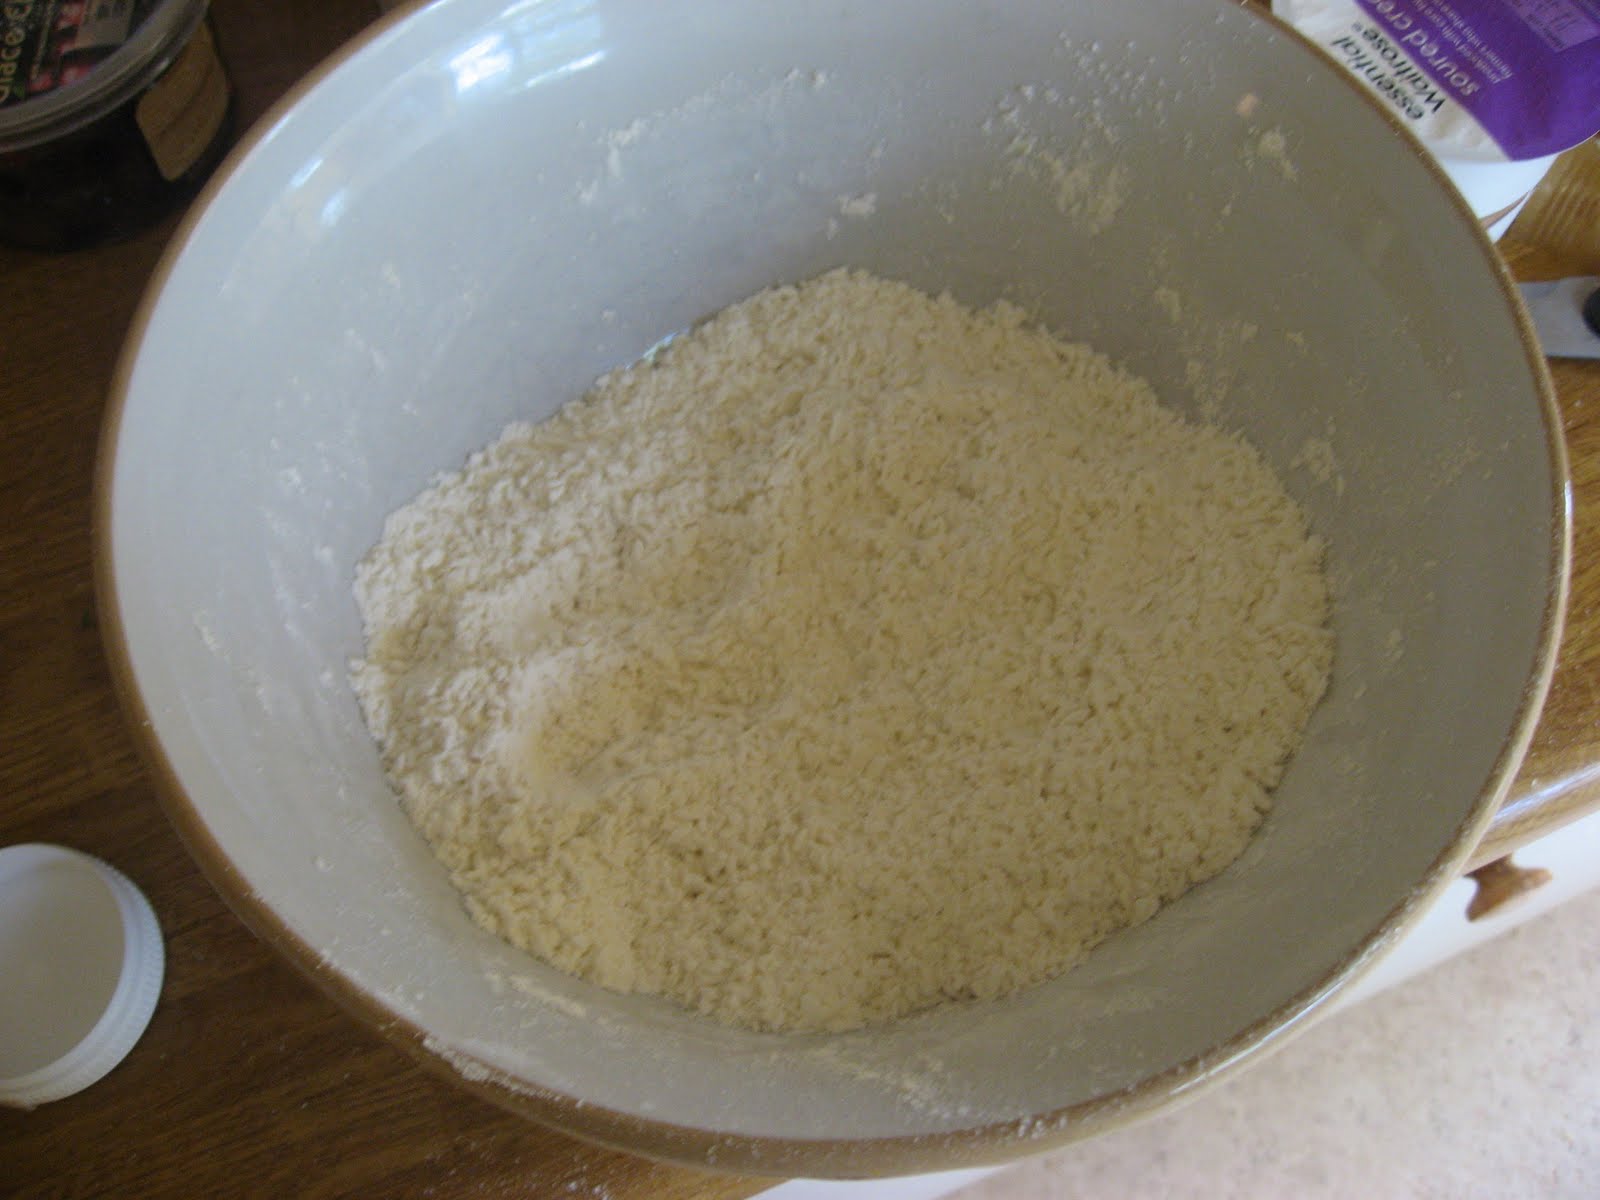
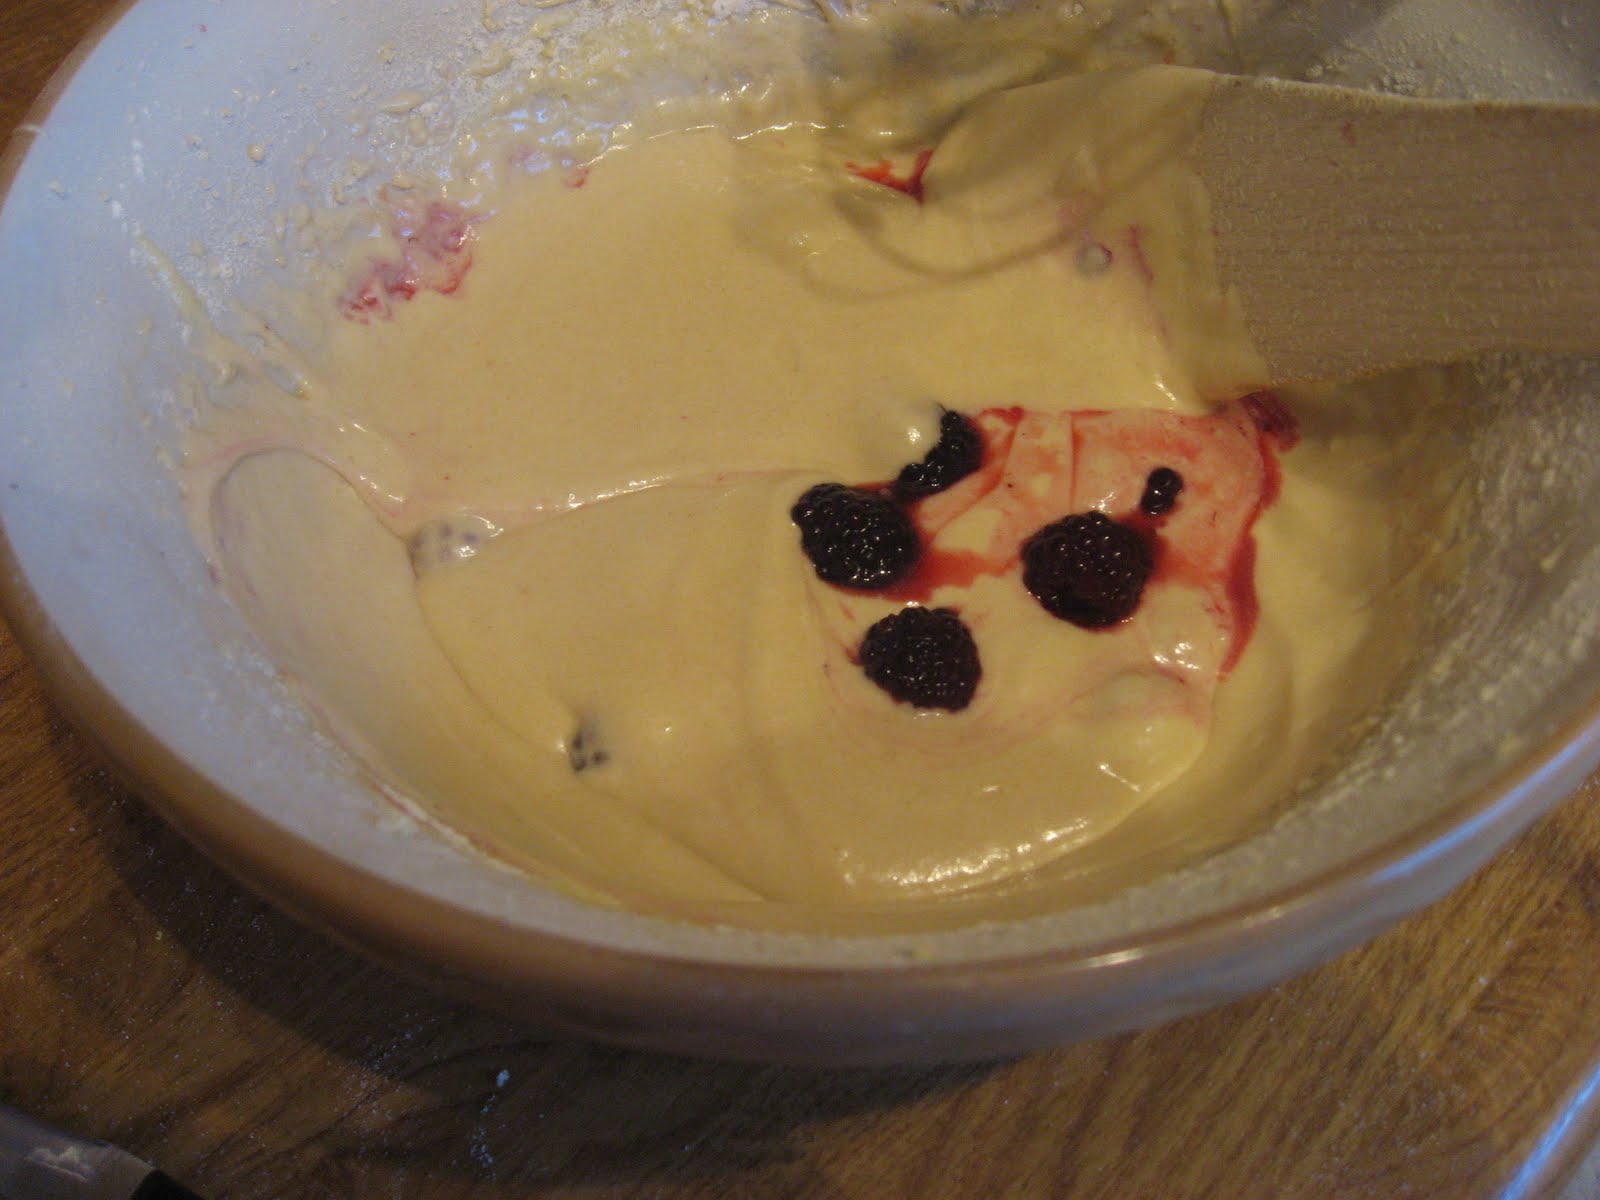
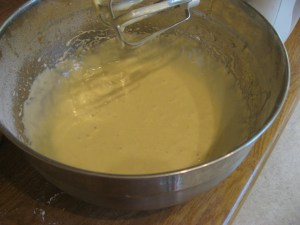
2. Grab yourself a bowl, and mix together flour and sugar and butter. Yay! You’re done!

3. So kidding. You’re not back in Kansas yet, Dorothy. Get the butter and rub it in, until the mixture resembles breadcrumbs.

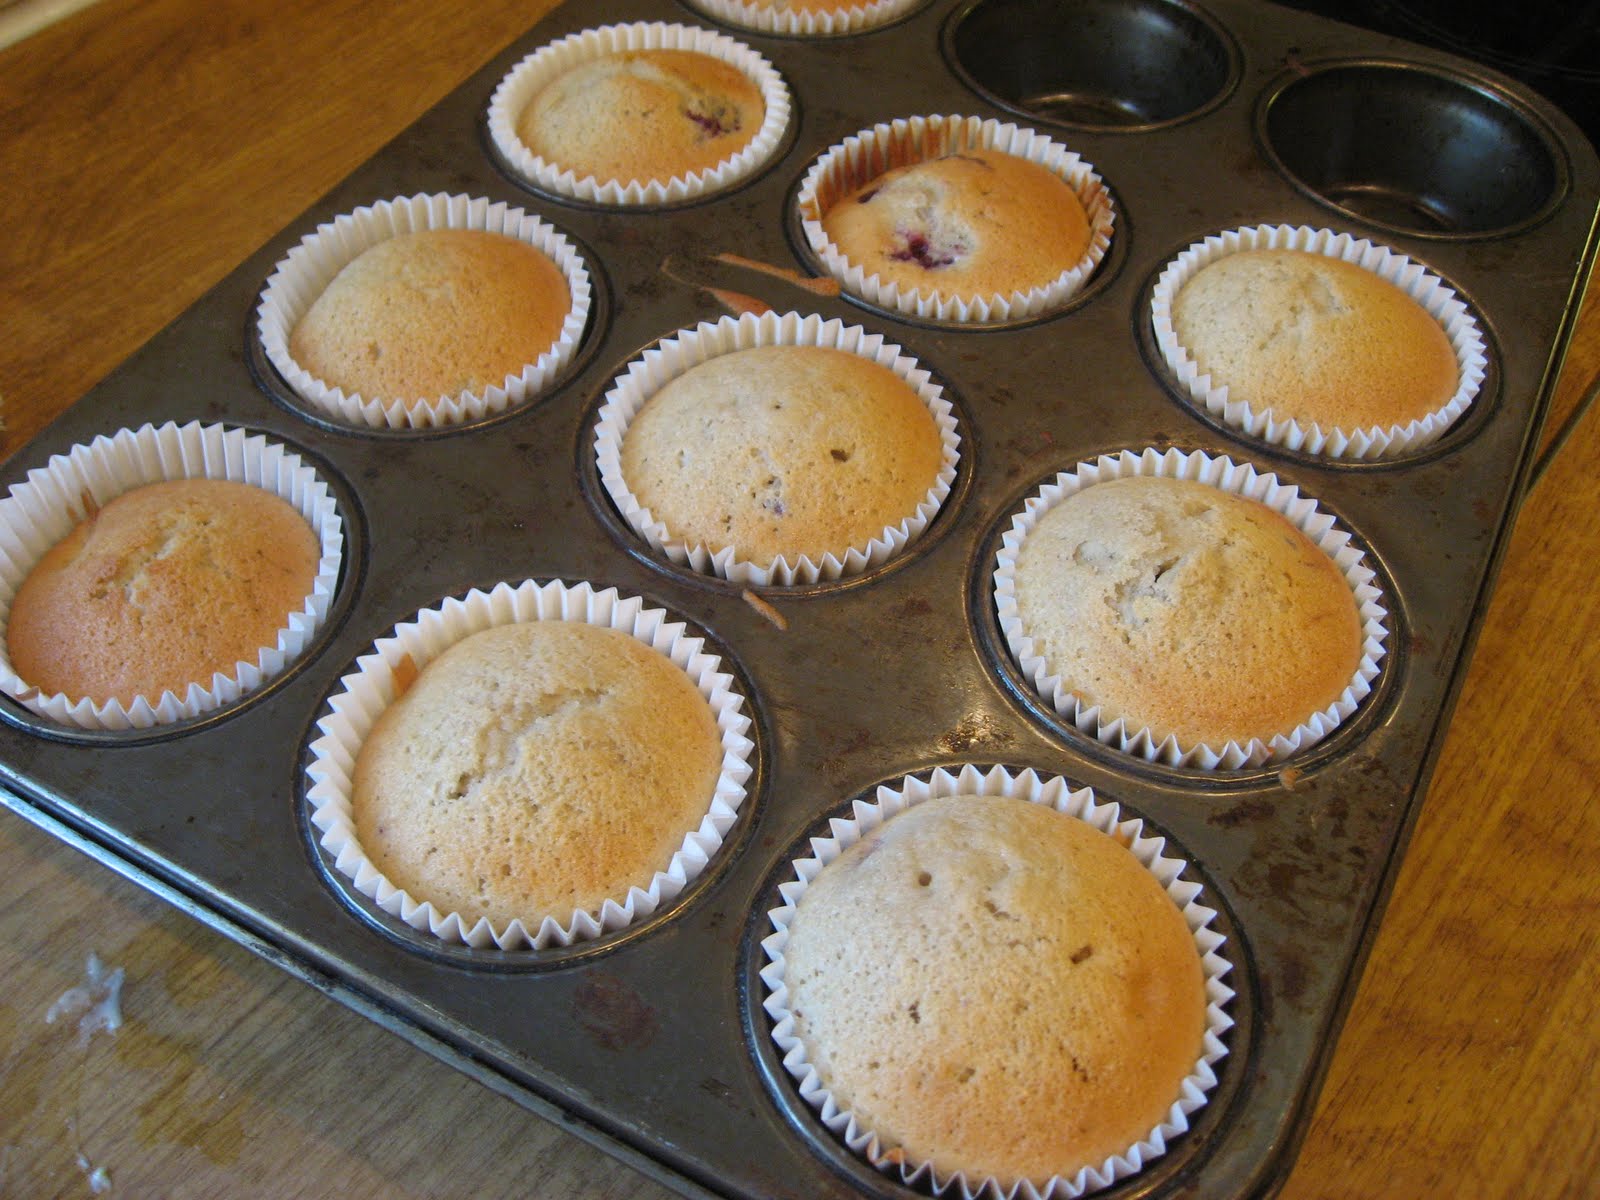
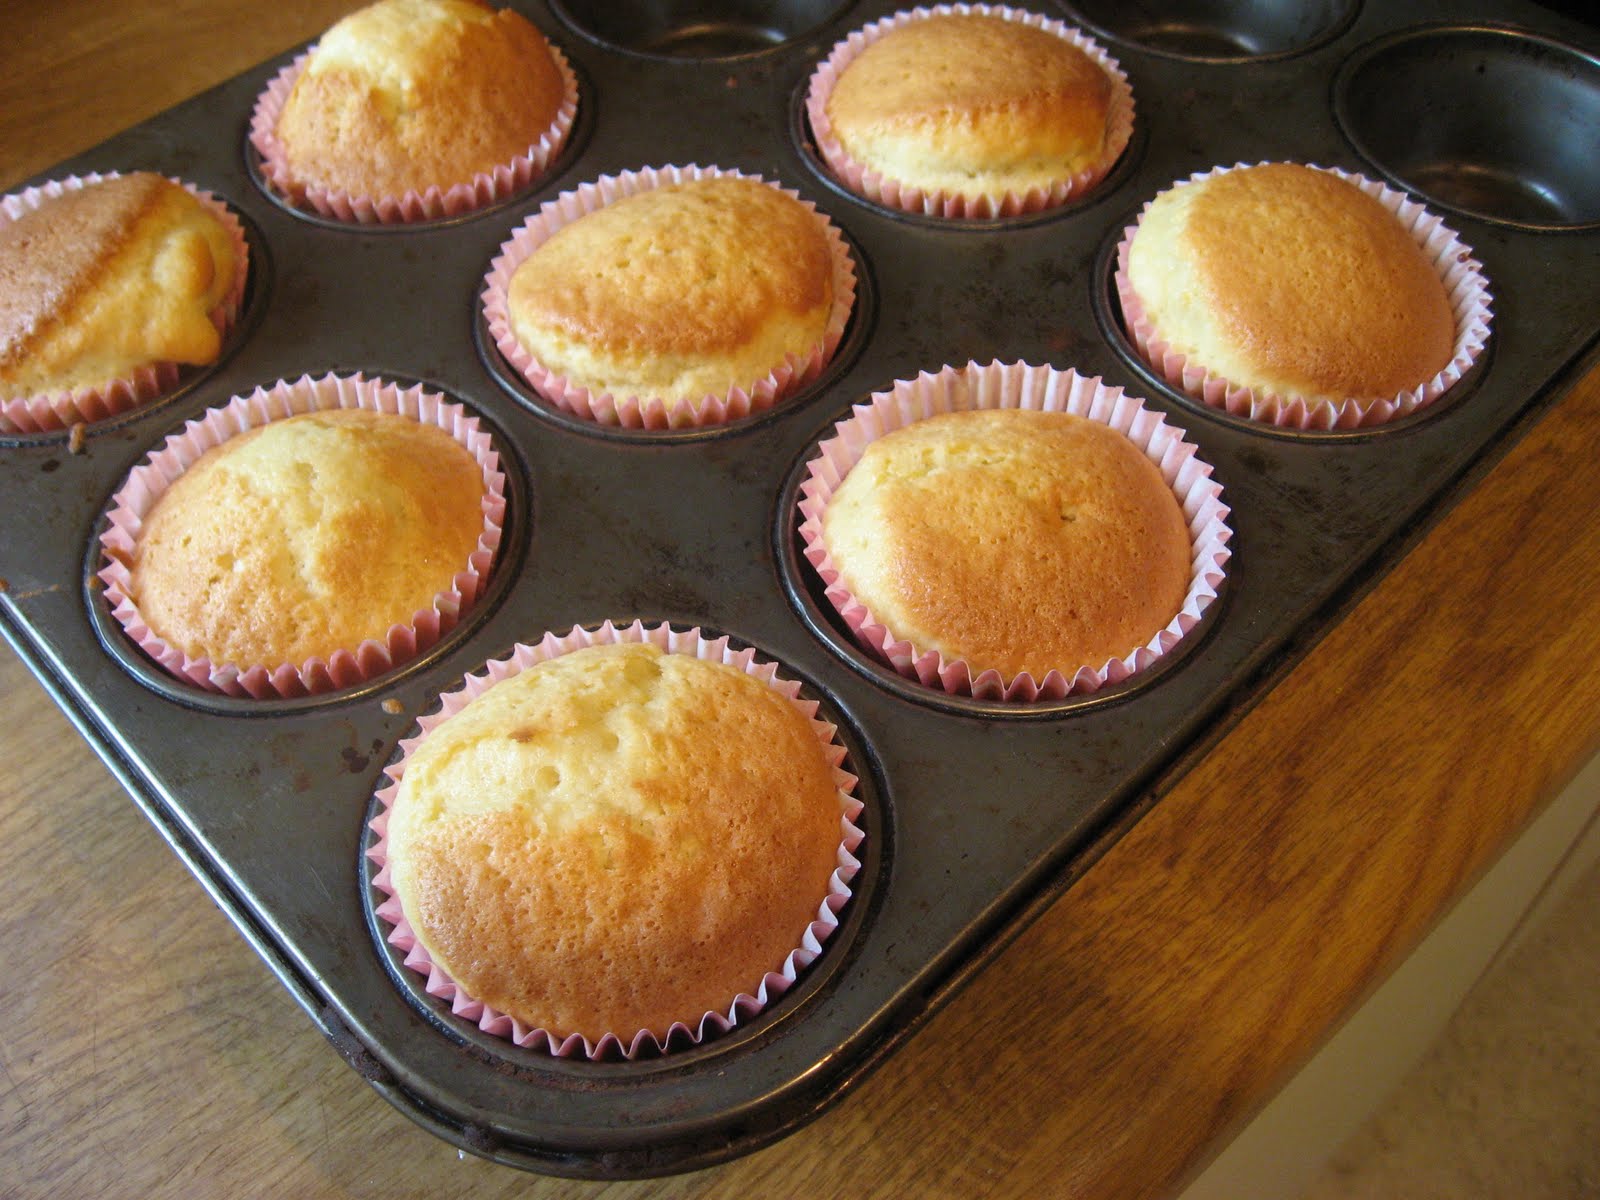
4. Press the mixture into the baking tin, evening it up as you go, making sure it reaches into the corners. Bake in the oven for around 25 minutes, or until golden brown.

For the fudge filling:

1 x 397g can condensed milk

2oz soft light brown sugar

2oz unsalted butter

1. I’ve never, ever had condensed milk before. I found the experience really rather exciting….

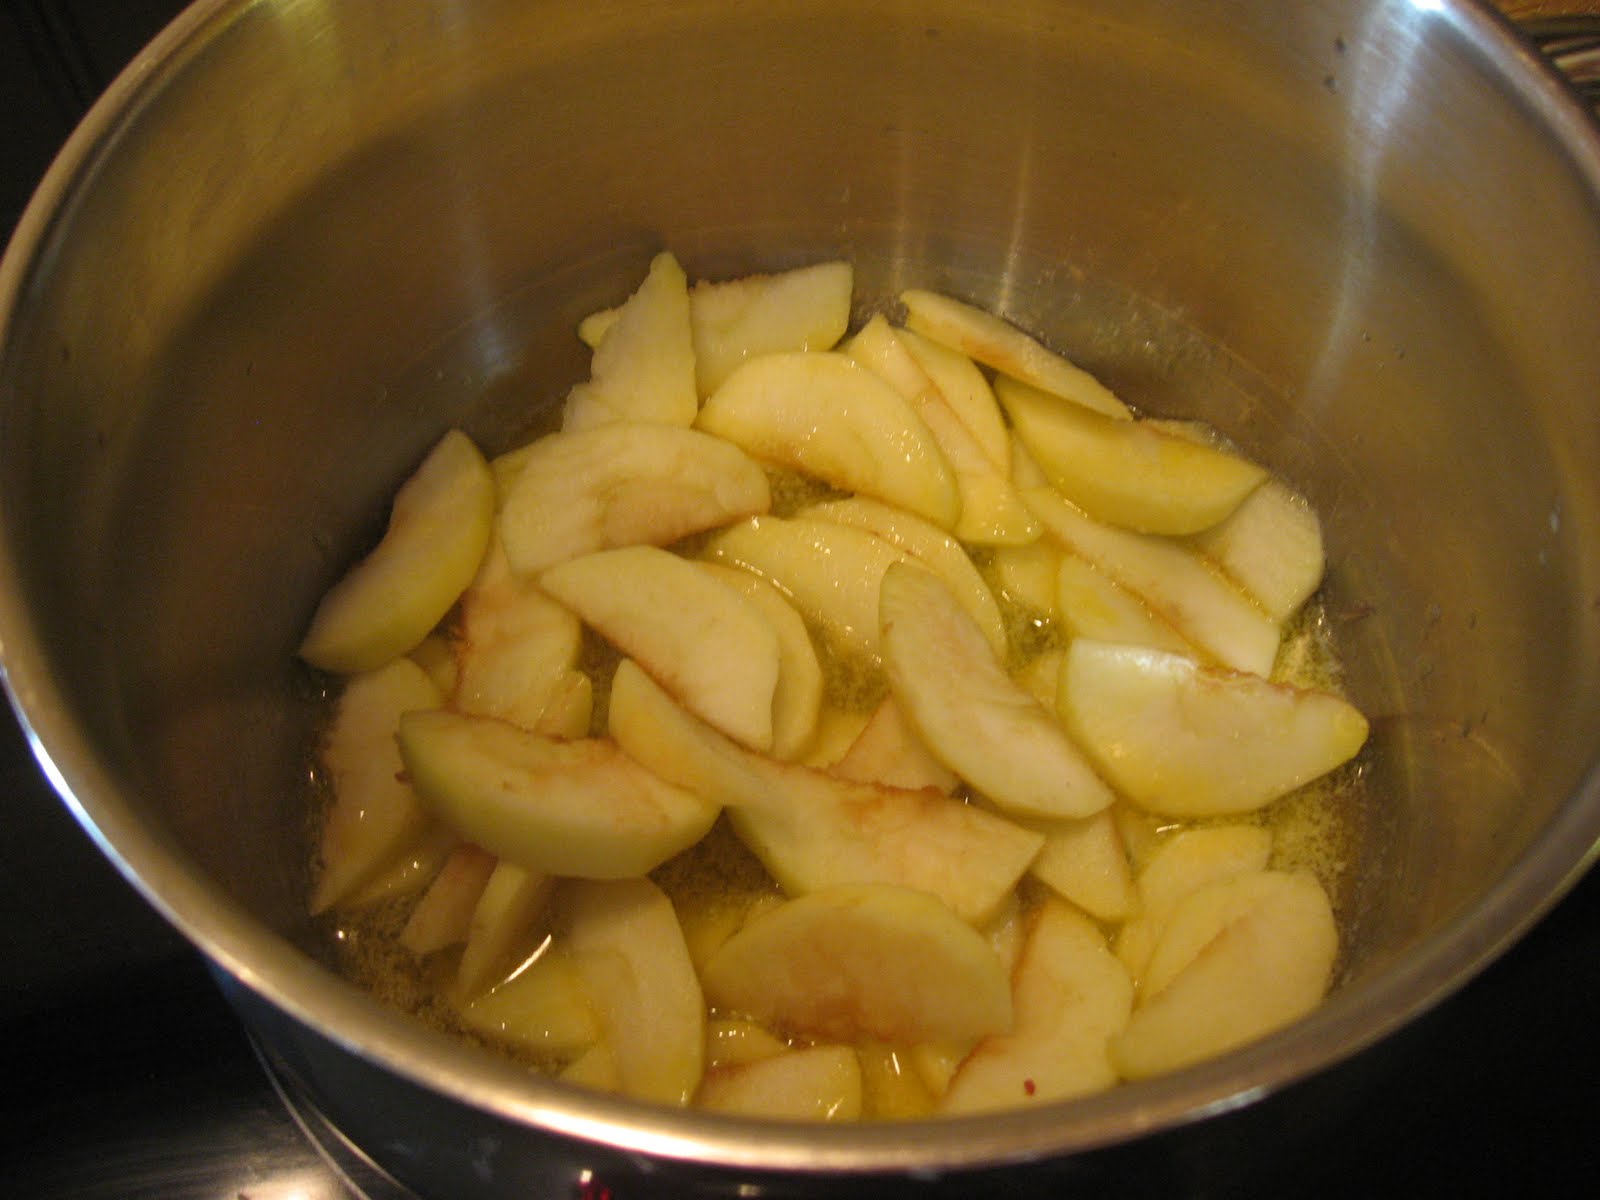
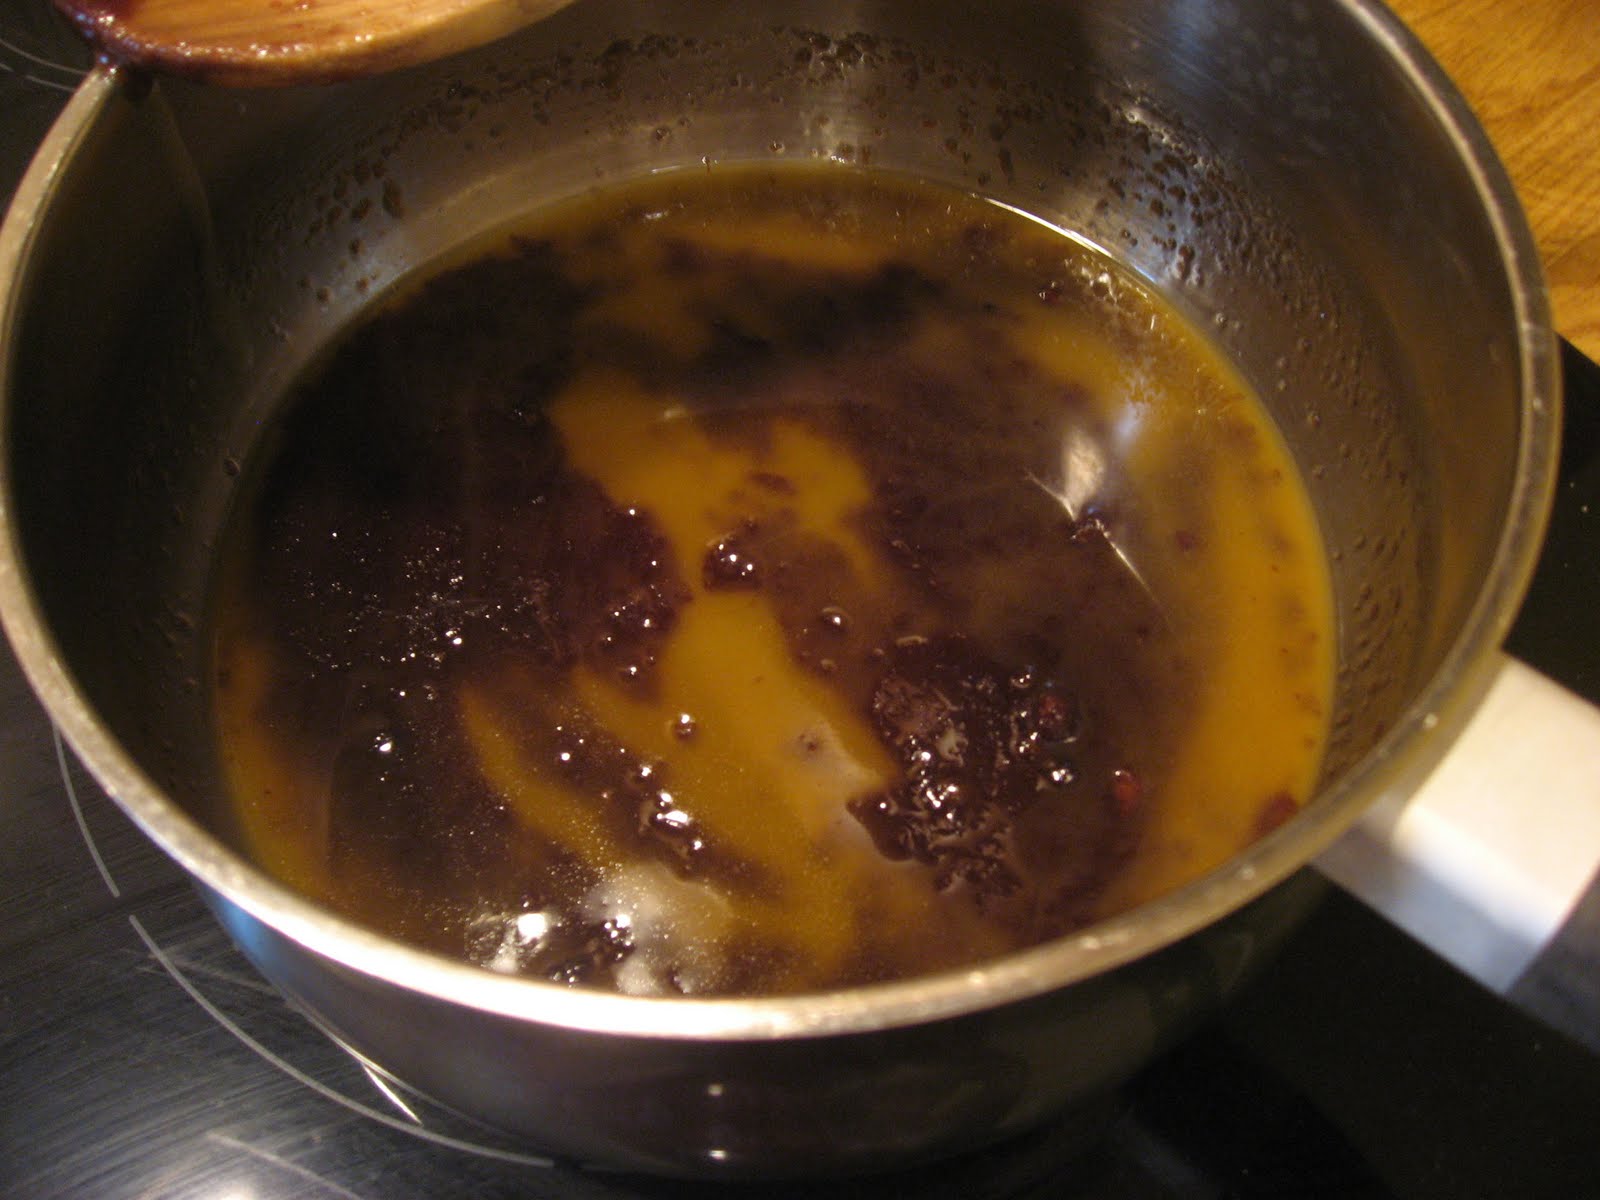
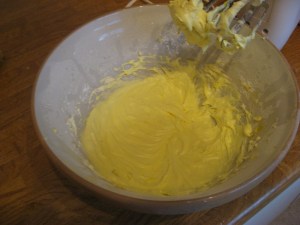
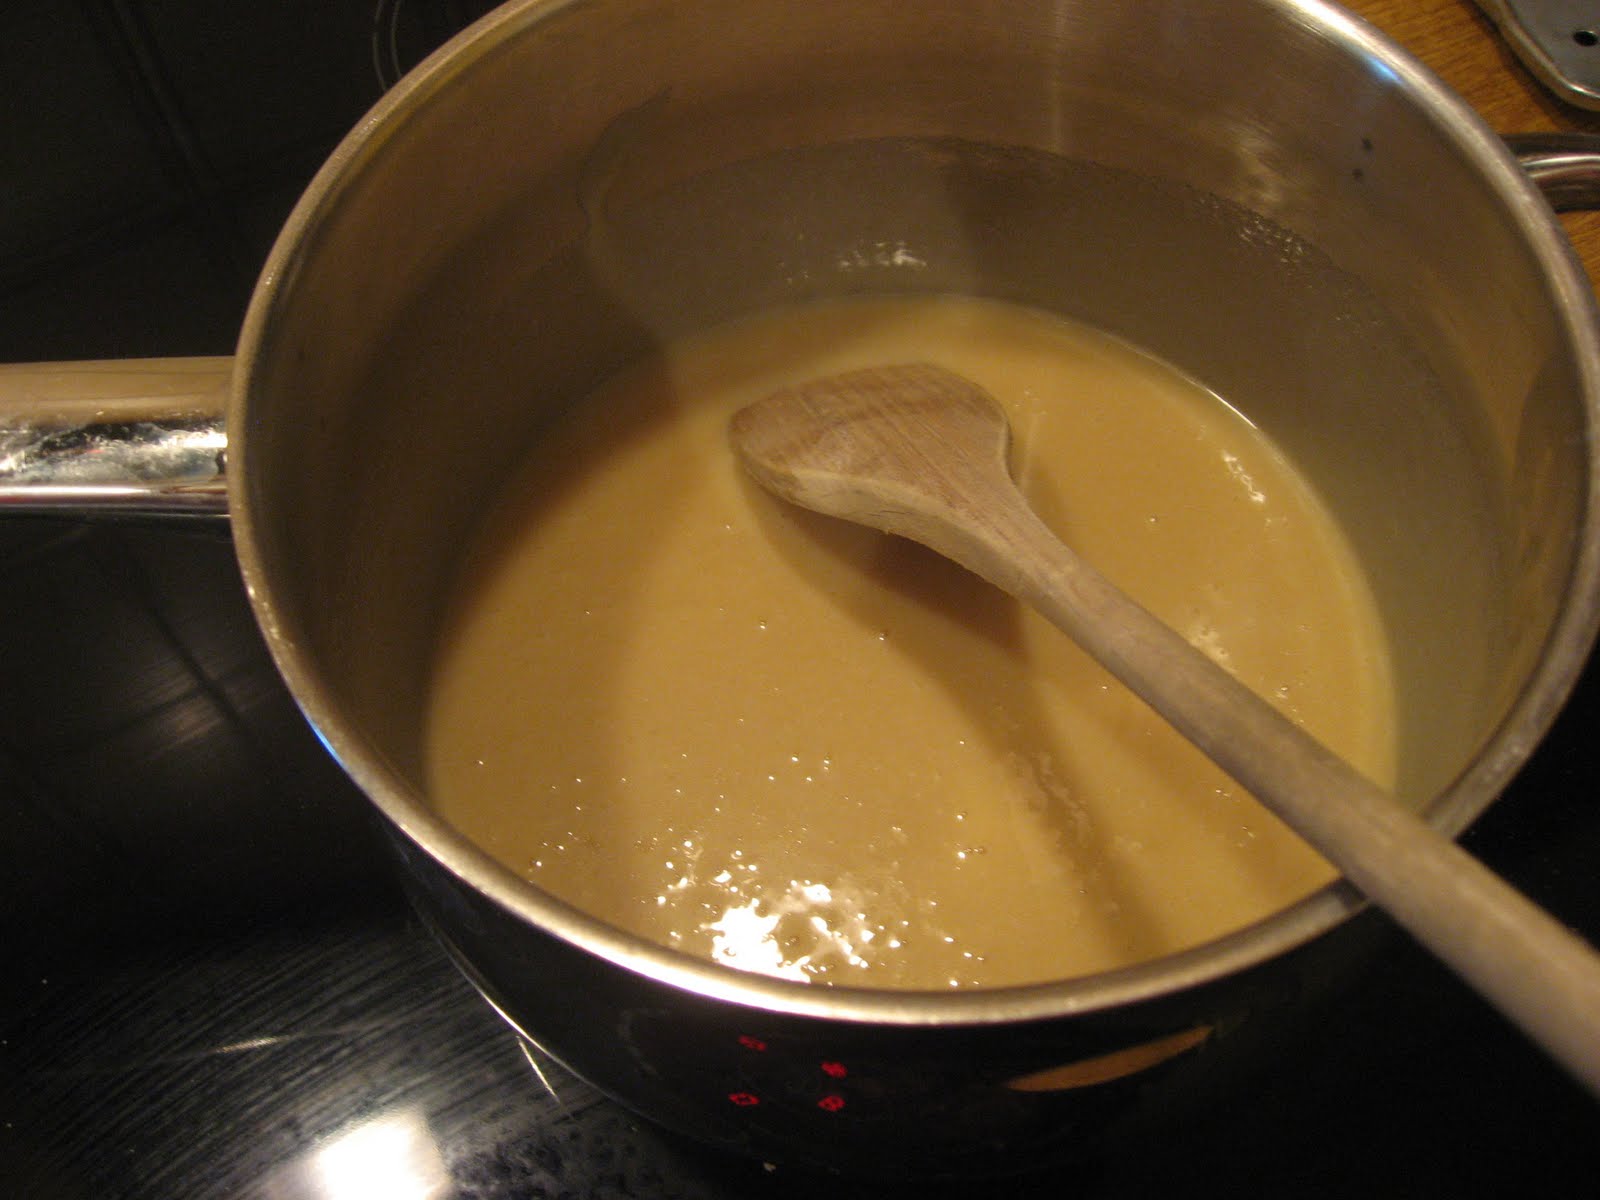
2. So easy peasy – all you have to do is pour the condensed milk, sugar and butter into a pan. Bring it to the boil, then turn the heat down, and cook for around 7-8 minutes, stirring regularly. The Eat Me book by ‘Cookie Girl’ says something COMPLETELY different. Ignore. Me and Cookie Girl will be on Jeremy Kyle next Wednesday, working out our difficulties.

3. What you’re looking for is a slight darkening in colour. Don’t worry too much texture-wise. It’ll thicken up a bit, but when you leave it to cool, it will thicken even more so.

4. So, um, yeah….leave it to cool.

For the topping
6oz white chocolate
2oz desiccated coconut

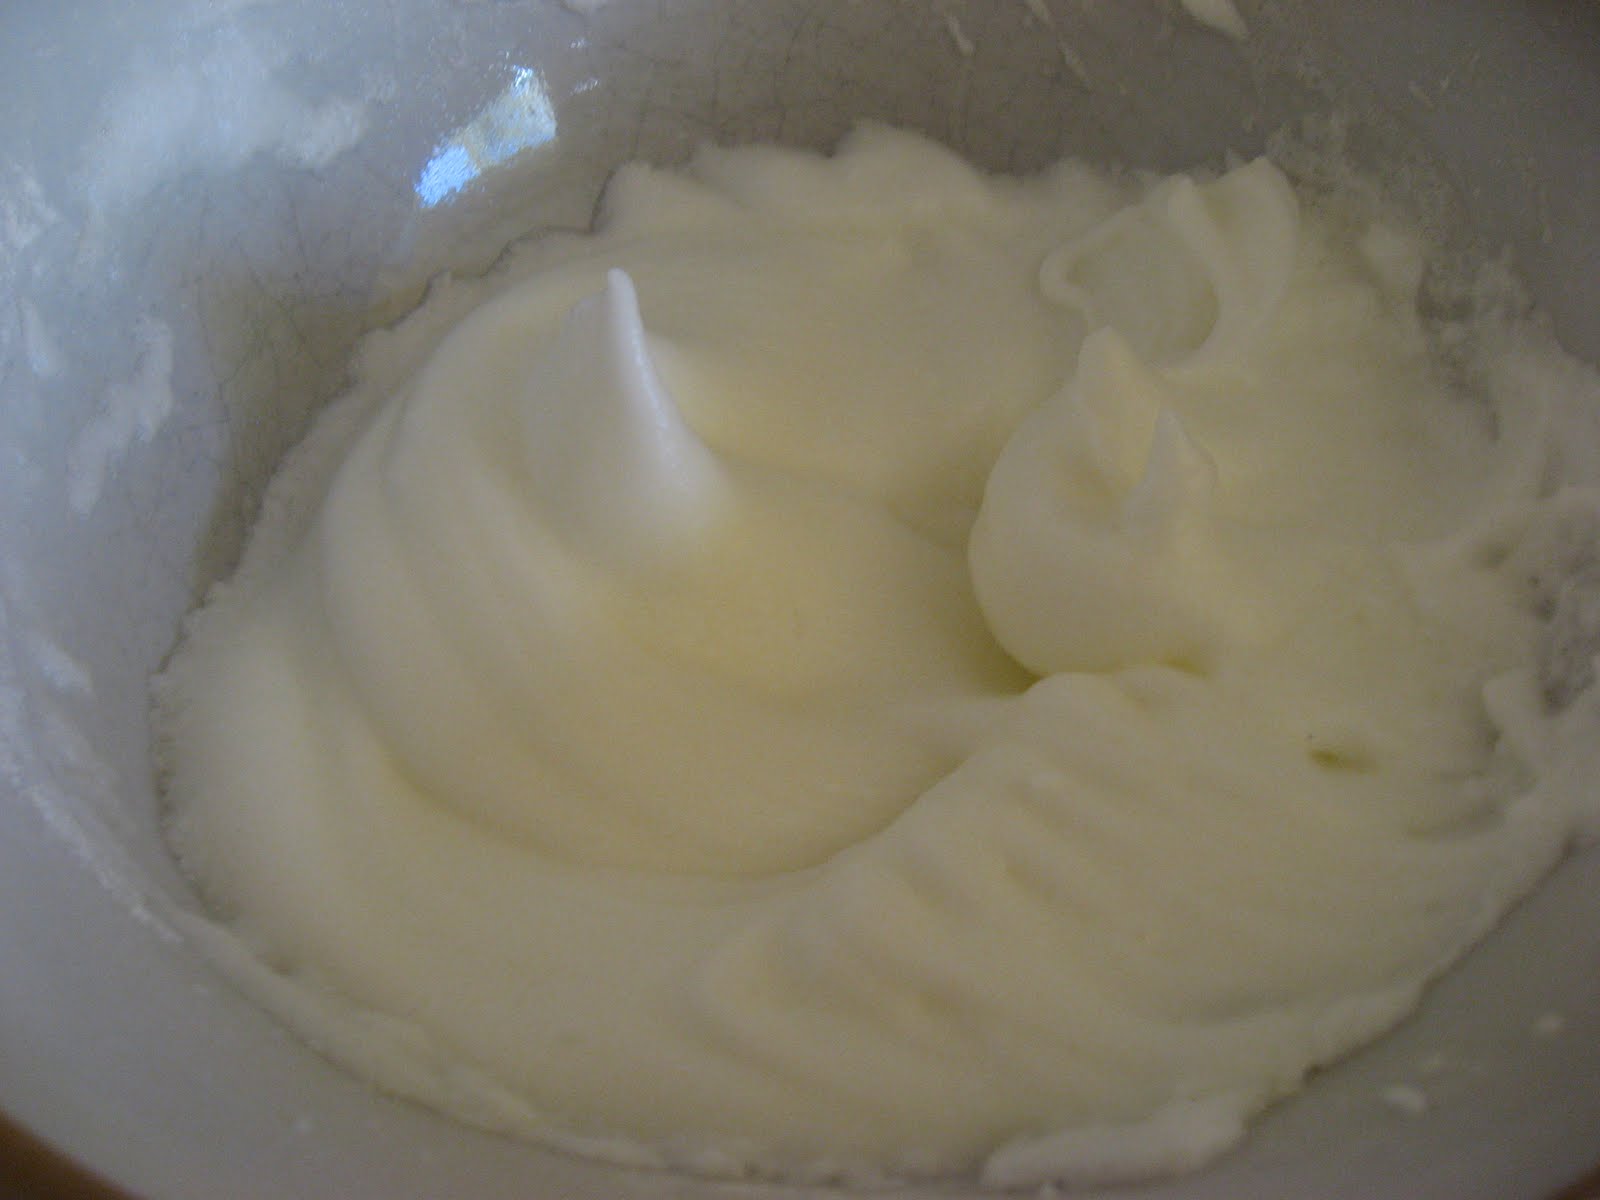
1. Melt the chocolate in a bowl over a pan of simmering water. You’ll want to do this JUST before you need it, because otherwise, it’ll go from solid to liquid, then back to solid again. Kind of like the way Cheryl Cole went from being Pugnacious Chav, to Nation’s Sweetheart, to Public Enemy No1 again.

2. Once the shortbread is cooked, cover with the fudge filling, then spread the white chocolate across, with a spatula. This will be tough! In fact, spreading white chocolate over fudge doesn’t get much tougher than this, as they always say on Masterchef.

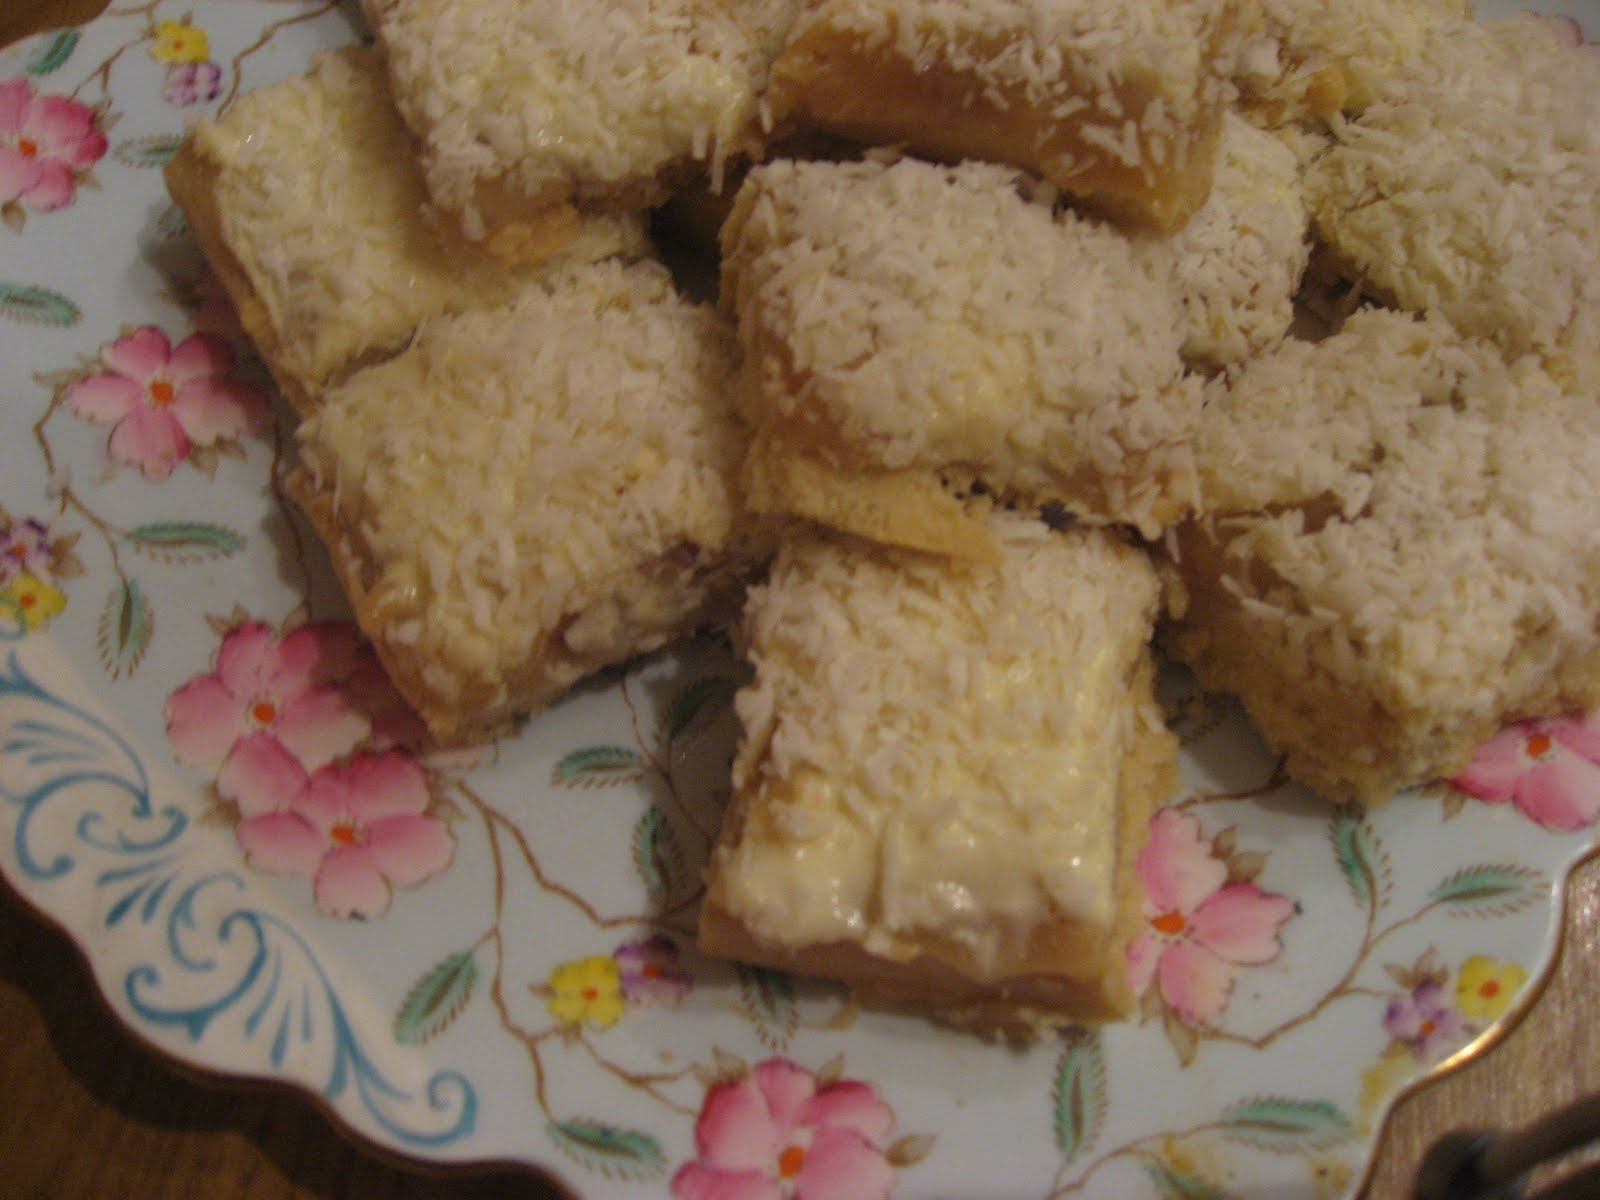
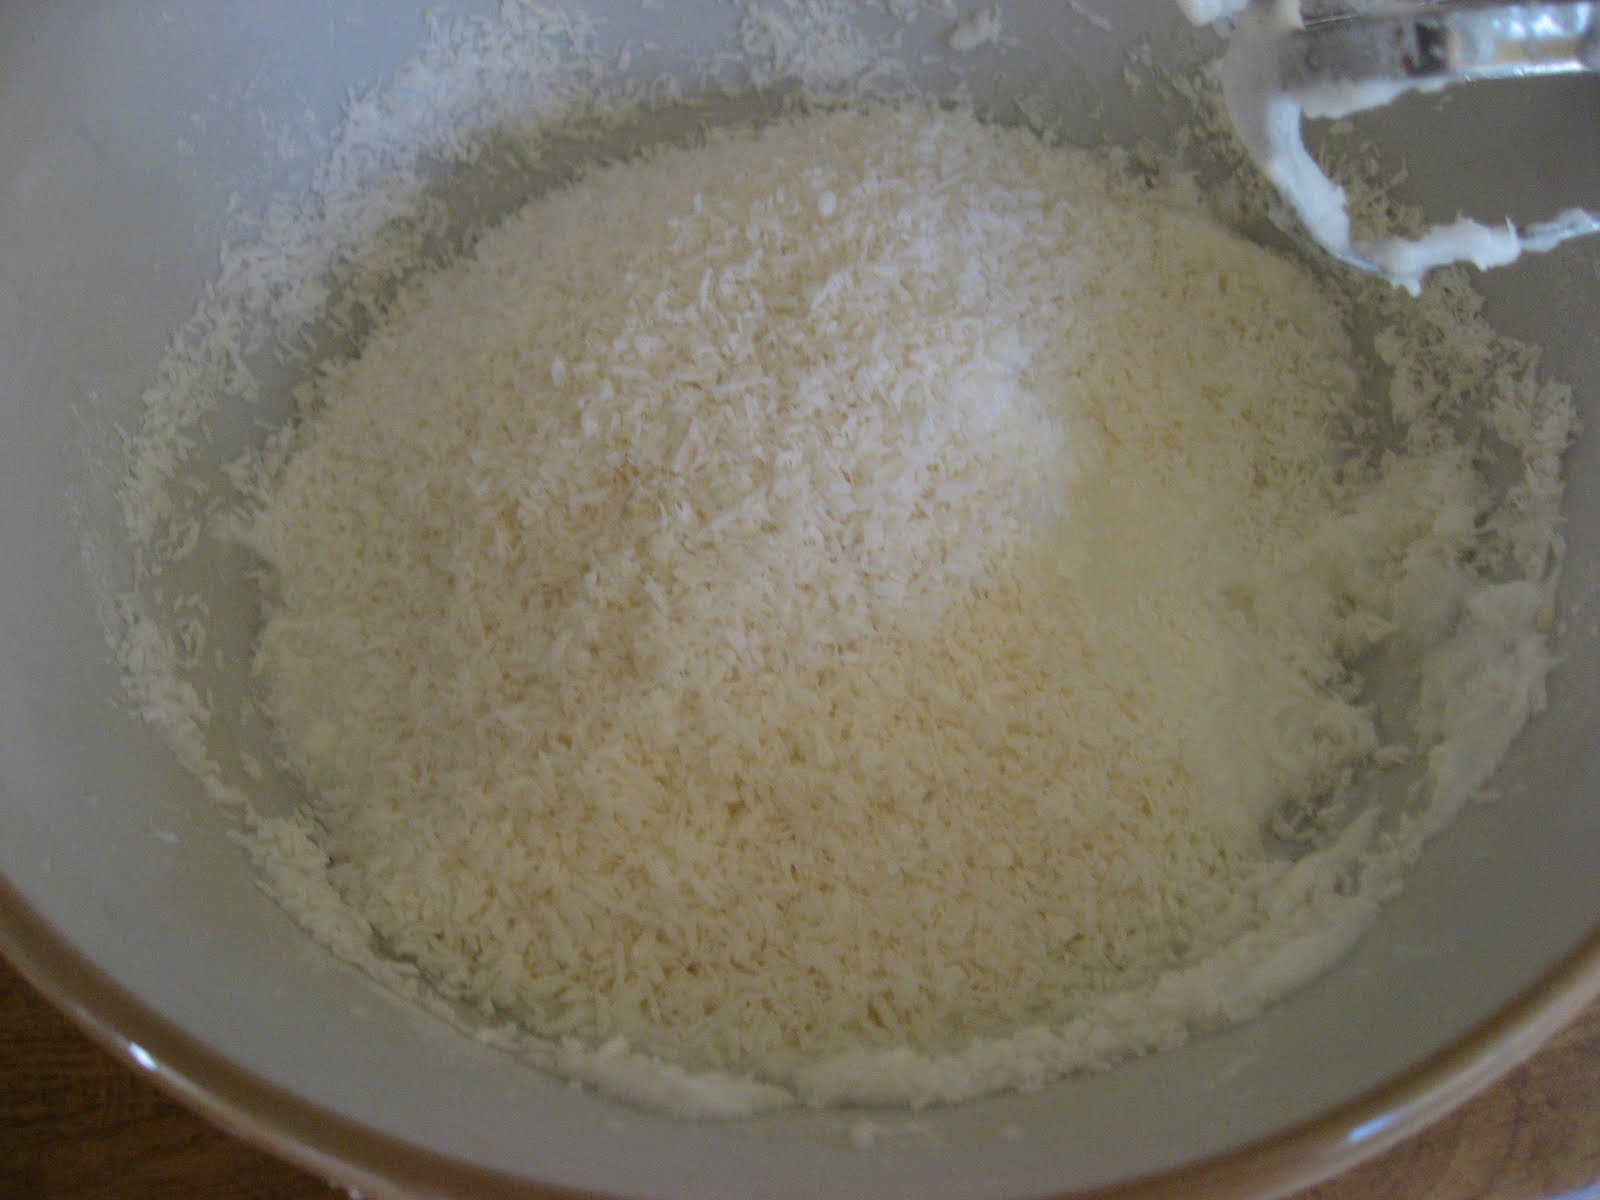
3. While the chocolate’s still molten (brilliant word), sprinkle over the desiccated coconut and leave to cool, before cutting into squares.

4. Before you eat, you might want to book in with your local Weightwatchers group. Just a heads up.

All my love, and while my blog may have made you laugh (massive presumption on my part), please don’t forget that today is Remembrance Sunday, and take some time to think about what that means to you.

Curiouser and curiouser….

Alice in Wonderland Cupcakes from the wonderful ‘Crabapple Bakery Cupcake Cookbook’. These are stunners, and they will blow your mind. Even better, they will blow the mind of anyone you give them to. Ok cake fans, time to cook. This is an Aussie recipe, so all in cups…

Coconut and cherry cake ingredients
2 1/4 cups plain flour
1 1/2 teaspoons baking powder
3/4 cup desiccated coconut
2/3 cup milk
400g sour cream
200g softened butter
1/2 teaspoon coconut essence
1/2 cups caster sugar
3 eggs
1 cup chopped glace cherries

Makes 24

1. Preheat oven to 160C. Line two 12-hole muffin trays with cupcake cases, as bright as you like. Pink is obviously preferable, as ever.

2. Sift together the flour and baking powder, then add the desiccated coconut and mix, using your hands. Damn girl! You don’t need no wooden spoons!

3. In another bowl, mix together the milk and sour cream until smooth. If your cream isn’t sour enough, tell it it’s wife cheated on it. That should help. Inappropriate?

4. In yet ANOTHER bowl, cream the butter and coconut essence together for 1-2 minutes – this should really help add a ‘heart’ of coconut to the recipe, instead of just adding it to the mixture later.

5. Add the castor sugar a third at a time, and beat for 2 minutes between each addition. It may sound labour intensive, but you really won’t regret it – when you’re using something like desiccated coconut, the rest of the cake needs to be EXTREMELY SMOOTH. As smooth as…no, no, I do that joke every blog entry. After the last addition of sugar, keep beating until you can hardly feel your wrist. You want it to look as though the sugar has almost completely dissolved into the mixture.

6. Add eggs one at a time, beating for 1 minute after each. It’s tres tres important that the mixture is light and fluffy, or your friends won’t ever speak to you again.

7. Add a third of the flour mixture at a time to the creamed mixture, and beat until just combined. Add half of the sour cream mixture and also beat until just combined. Repeat this until all the ingredients are combined. After the remaining third of the flour is combined, beat until mixed but not ‘tough’.

8. Add glace cherries and beat until…until what? Yes! JUST COMBINED.


9. Spoon mixture into your cupcake cases, filling until half full. Bake for between 18-20 minutes, or until a skewer comes out clean.


10. Once removed from the oven, take the cakes out and leave them to cool on a rack for around 30 minutes, otherwise when you ice it you’ll get soup instead.
Pink Coconut Ice Frosting

9 egg whites
6 cups dessicated coconut
9 cups icing sugar
pink food colouring

1. Industrial quantities of coconut ice!

2. Beat the egg whites for 15 seconds using a mixer on low speed. The minute it solidifies, you will get a rush of incredible wellbeing. I’d imagine that’s how it feels to have a baby – not 15 seconds ago, you were cradling a sloppy mixing bowl of egg whites, and now look! A glorious mountain range, carved out in stiff egg….it’s a miracle! Now hold it above your head to prove you’ve done your job properly.


3. Right campers – add the coconut, sifted icing sugar and 3-4 drops pink food colouring, or however much it takes to satisfy your cravings for pinkness. For me it’s a lot more than 3-4 drops, I’ll tell you that for free.


4. Listen up and listen well, and listen….good. This will SET. And it will set QUICKLY. So what you have to do is pretend you’re in a sequel to ‘Speed’. ‘Speed 4: Race Against Coconut Ice’. (Apologies if there already has been a Speed 4. Apologies because it was undoubtely crap.) Goddammit you! You’re gonna have to work fast! If you don’t…..YOU’LL HAVE TO THROW YOUR ICING IN THE BIN.

5. Sorry, might have got a tad carried away. Now, I’m afraid there are no pictures of the following steps, because of Speed 4 syndrome – I couldn’t possibly pause to photograph. Take my word for it. Here’s what you do: Use your hands to roll a large spoonful of icing into a ball, around the size of a tiny peach. Place it (QUICKLY) on top of your cake, and shape it. Sprinkle with more desiccated coconut and top with half a cherry.

Alternative names I have for ‘desiccated coconut’:
Decimated coconut
Desegregated coconut
Disingenuous coconut
Disgraced coconutYou may know it by many others. It is a master of disguise.

Call the Doctor! Call the nurse! She’s turned into a lunatic!

….is what you may say when you see what I have in store. I have long since been a fan of the zany, but entirely brilliant Mr Heston Blumenthal, and ever since watching his various tv shows, I have gone to bed dreaming of using one of his recipes. In his ‘Historical Feasts’ series, I was madly taken with the little edible icebergs that formed his dessert. It turned out my luck was in. Channel 4 has the recipe here: http://www.channel4.com/food/recipes/chefs/heston-blumenthal/heston-s-edible-mini-bergs-recipe_p_1.html

I stopped in my tracks. I gaped at the screen. ‘Huzzah!’ I shouted. (Quietly. To myself.) It was as though the God of Cooking had sent me a challenge. Yes, there are several thousand components. Yes, it’s certainly not beginner stuff, and I am certainly a beginner. BUT, I adore Heston. He’s my idol, and I am constantly inspired by him. This is the path I must take. I will fully document my attempt at this recipe, even if it sinks as badly as the Titanic itself. (Like I say, ever topical on this blog).

Tatty bye for now, I’ll be keeping you updated on this maaaaad challenge.

All my love, Diamond Doll xxx

Un momento por favor

I’d just like to pinch a teeny weeny bit of your time, to talk about a wonderous discovery I made whilst (yes, whilst) on holiday in St Ives, Cornwall…As you all know, I am left stupified and gloriously dizzy by pretty, glittery little things, so when I stumbled into this Aladdin’s cave of gorgeousness, I was all of a tizzy. It’s called ‘Birds of a Feather’, and has a range of various beautiful practical bits and bobbles, to some stunningly impractical but equally marvellous things. Below you can see some pictures of the cake stand I picked up, which I sat and gawped at for ages the minute I got it home. My pictures don’t really do it justice, but it really is the most brilliant little contraption. Wipe clean cardboard, a bargain at £8.99, and just the thing for my tea parties. Equally, I picked up the sparkly birds as a finishing touch, perfectly bargainous at £1.99 each.

I’m not a one to pimp out places, but really – this was something else. Their website can be found at http://birdsofafeatherlifestyle.co.uk/, and I’m sure they’d be amenable to sending things out. If you’ve noticed the rather fetching measuring jugs I used in my last post, they also came from Birds of a Feather, and, gawd bless them, they have CUP MEASUREMENTS! The holy grail for someone like me, who uses American and Australian recipes which heavily revolve around cups. So, please – check them out, theyre magnificent, and apart from the products, I was served by two of the most gorgeously friendly ladies, who were happy to chat and give me all the advice I needed! If you’re in lovely Corners, GO THERE. You will not regret it.

Season of mists and mellow cupcakeness

I, for one, love Autumn. Cosy jumpers, thick woolly socks, irrationally high boots, huge swishy coats, CAPES, for god’s sake! Capes!! Ahem…but non-sartorially speaking, it’s also lovely foodwise. And this week, I feel we’re finally there. The air has gained that crisp feeling, that hits you at the back of your throat and takes your breath away, and is just cold enough to make your eyes hurt. So, while I sat down in my strawberry print apron and rearranged my rollers, I pondered…what cupcake could I possibly make that would celebrate the autumnal equinox fast approaching us? And of course, it goes without saying, I wanted to avoid anything with spiders, little graves fashioned out of royal icing, or any other such (trick or) treats.

Then, it hit me. A blackberry cupcake. I recently did a rather gorgeous raspberry cake and was delighted with the little pockets of juicy explosion that took one by surprise – almost like a mirage spied while navigating the cakey desert planes. Too fanciful? Go and read one of the other blogs out there, not written by an English and Drama graduate.

I had my base. But what to top it? A cream frosting? No….apples done in a tarte tartin style, with a salted caramel glaze. I’ve been looking for an excuse to shoehorn this, my current favourite flavour, into a cake, and here, it had just landed in my lap. (Metaphorically. Please don’t go around hurling cupcakes at your knees.) By the by, I used half this quantity for my cakes, and came out with 10. It’s up to you, but I’ve put the full measures in, so it’s all in your hands. Just think of the power…

Blackberry cupcake ingredients (in cups)
2 ½ cups plain flour
1 tsp baking powder
¼ tsp salt
½ cup unsalted butter, room temp
1 ½ cups caster sugar
2 eggs
2 tbsps blackberry juice (I’ll explain all later)
1 tsp vanilla extract
2 cups chopped blackberries (unless small…then leave them be)
1/2 cup milk

1.Preheat oven to 170C, and line two cupcake pans of with 24 cupcake cases total (You may, or may not, use all of these. Ooh, how wonderfully vague)

2. In a bowl, sift together flour, salt and baking powder and whisk together.

3. In another bowl, whisk together the butter and sugar until it holds together, and starts looking lighter in colour.

4. Add eggs one at a time to the sugar mixture, whisking after each addition.

5. Add vanilla and blackberry juice…what happened with this, is, I had frozen blackberries. So, I just steeped them in hot water, and used that hot water as my ‘blackberry juice’. Simples? Simples.

6. Get your milk and your dry flour mixture at the ready. Ready? Alternately add them, whisking on a low speed.
7. Gently, veeeeeeery gently, fold the blackberries into the mixture. Try not to bash them too much, poor babies.
8. Oh, go on then. Fill your cases. I’d say probably just over two thirds full – you want them to rise, as there’s no frosting to disguise any TERRIBLE MISTAKES YOU MIGHT MAKE.

Caramelised apples:
65g unsalted butter*, cut into small piees
4 eating apples, peeled, cored and cut into 16 (cut each quarter into four equal pieces, lengthways)
4 tbsps caster sugar
*I actually used salted. I’m a huge fan of salted caramel in chocolates and whatnot, so I thought…why not? But as ever, you may do as you please.

1.Melt the butter in a large saucepan, add the pieces of apple, and turn to cook them on both sides. When they begin to look golden, start singing a la Mika “we are goooolden, we are GOOOOLDEN’, and sprinkle with the sugar, then remove the pan from the heat.
2. Arrange them on top of the cupcakes, four apple sections per cupcake, laid out like a courtesan’s fan. (You have to be poetic about these things.)

Caramel glaze
65g unsalted butter
50g soft light brown sugar
225g icing sugar
1 tsp vanilla extract
1 tbsp milk
1.Melt the butter in a heavy based saucepan over a low heat. Add the brown sugar and stir until it melts.
2. Remove the pan from the heat, and add the icing sugar, vanilla extract and milk. Beat together until smooth and well mixed, then drizzle around a tablespoon of the glaze over each cupcake.
Apologies for the atrocious picture below. I am not technically minded enough to crop.

Happy baking my darlings!

Lemony Snicket

Now, I’ll admit, this is from the Hummingbird Bakery cookbook. I held off on buying this book for ages, because everyone has it, and also when I said I liked making cupcakes, the first question I was always asked was “ooh! Do you have the Hummingbird Bakery book???!” Other cupcake books are available. So, I kept my head down and refused to look at it. Anything that widely owned can’t be good, and I’m a great one for avoiding trends until they’ve JUST gone out of style, and then I’ll jump on that bandwagon, goddammit it. I did it with GHDs. I did it with Ugg boots. (Ssh. I threw them away, ok? I am not, and never will be, an Australian surfer, which is the only way wearing them would be ok.) In fact, the times I get swept up on the ol’ bandwagon before it left the station (c.f. Lady Gaga, tops with crazy shoulders a la Rihanna, 80s revivals etc), I get so jealous and annoyed when other people discover MY new thing too, I can’t bear it and I run away crying.

That’s enough about my neuroses. Enough time had elapsed between the HBB madness and now for me to pick it up and scrutinise it with my beady eyes. In the end, it wasn’t the recipes that swayed me, it was the 100 free beeeeautiful cupcakes cases that came with it. Actually, the week before last, I popped into Hummingbird for a red velvet cupcake. It was good. Not mind-blowing, but satisfactory. I was a bit disappointed in the limited flavours they had on offer, but the nice little box they packed my cake in won me over. Fickle, me.

Today I’m road testing their lemon cupcake with lemon icing. ‘BORING’, I hear you cry, slapping your head and gurning in irritation. ‘Where have your weird alcoholic cakes gone? Your ugly meringues? Your floral fruity frippery? You used to be cool, man!’ Well, children. I shall be cool again, but not today. (Nota bene: I read Heston Blumenthal’s Fat Duck cookbook. Prepare yourselves. I have some crazy plans for cakes. That WILL be cool.)

Cupcake ingredients
120g plain flour
150g caster sugar
1 ½ teaspoons baking powder
2 tablespoons grated lemon zest, plus extra to decorate
40g tablespoons unsalted butter, at room temp
120ml whole milk
1 egg

1. Preheat oven to 170C.

2. Put the flour, sugar, baking powder, lemon zest and butter in a bowl and beat on slow speed until you get a ‘sandy consistency’. Sand, eh? Nom nom nom. Actually, Hummingbird suggest you put it in your ‘freestanding electric mixer with a paddle attachment’, which we all know means…..*angelic chorus, drums beating, clapping, cheering* A KITCHENAID MIXER. Rub it in, Hummingbird. You know I don’t have one. You know I want one more than I want a cat. (i.e. REALLY BADLY.)


3. Ahem. Back to life, back to cupcakery: gradually pour in milk and beat until just combined. (HB say: ‘incorporated’, but that sounds like business jargon to me)
4. Add the egg to the flour mixture and continue beating until just “incorporated”. Continue mixing for a few minutes until the mixture is smooth. As smooth as Michael Buble.

5. Spoon mixture into paper cases until two thirds full and bake for 20-25 mins, or as HB says, until the cake ‘bounces back’. Bounces back like Wayne and Colleen post-major cheating allegations…

Ta da!!


Lemon frosting ingredients
250g icing sugar, sifted
80g unsalted butter, at room temperature
2 tbsps grated lemon zest
Couple of drops yellow food colouring (optional)
2 tablespoons whole milk1.Beat together the sugar, butter, lemon zest and yellow food colouring with your handheld whisk. Or Kitchenaid, yes yes yes, I heard you. Anyway, mix on a medium-high speed.


2. Turn the mixer to a slow speed and slowly pour in the milk. Ha – I just typed ‘milky’. Tired? Or is my language slowly peeling away?
3. Beat for about 5 minutes, while singing my classic whisking anthem, ‘beat it’.

4. Wait till the cupcakes are cold, then spoon lemon frosting on top and decorate with a little zest.

Gosh, what a terribly long blog for what was a terribly short recipe…